Saturday, July 9, 2011

How To Twitter...or Is It Tweet?

Two months ago, I broke down and joined the Twitter using the name @AmberCharkov. Not even a week after that, I had jumped on the HootSuite. I was very apprehensive to join because I just didn't understand it and didn't think I needed another form of communication. I mean, I had Facebook. Wasn't that enough? I had no idea what I was missing out on!

One Allison Ackmann (@AllisonAckmann) (a friend and coworker) has been saying I needed to get on it. It started at subtle hints and ended with her going to get the entire office on Twitter if it was the last thing she'd do. So, one slow week at work, I took the last half hour of the day to get myself signed up on the Twitter. The first weekend I had Twitter, I was obsessed! I had to read every update that came across my screen. If I missed any, I would go back and read them to catch myself up. This was fairly easy, as I wasn't following many people. OCD much? YES! It's just like the blogs I follow. Right now, I follow enough that I could catch up on a week's worth of missed blogs during a Saturday. So, I become a little tentative to add many new blogs. I feel like if I don't see everything, I'm going to miss out on something. Geez, what did I do before I didn't join this blogging and tweeting world? However, with the twitter world, I've realized that I'm not going to be able see everything and that half the stuff out there isn't that important. I can let pieces of twitter information slide.

I did realize that it's a great way to communicate and to get your voice out there. You can post anything from what you ate for breakfast to an article on abortion. It can be as laid-back or as serious as you want it to be. I started by mostly replying to treats or re-tweeting (RT) what others wrote. This made it easier to get into the swing of things and took off some of the pressure. The hashtag (#) was something of a mystery to me, but it's really quite simple to use. You use it when you have a certain topic you're talking about or something you want to get across. A good example would be: Nothing will ever be as good as Veronica Mars. #KristenBell #VeronicaMars #ilovetv. See?! I also find you get more followers by following more people. It helps make connections and get your name out there.

I opted for the HootSuite because it was easier to re-tweet than using the original platform. I can't compare it to other platforms because I have no experience with them, but it works well for me. I like that I can see people who have mentioned me, re-tweeted me, sent me a message, and my tweets in addition to the tweets of my followers. I would definitely recommend it!


All in all it's a great tool for information and can be a good way to stay up-to-date. Of course, you should only follow those people that you want. And if someone turns out to be annoying (ie tweeting a shit-ton), then you unfollow them. It's impersonal enough that no one's feelings get hurt. However, here are some of my fave tweeters: @ClairBrsoman, @AllisonAckmann, @BellaTrella26, @NicoleWTHR, @David_Boreanaz, @RIPorSOL, @MS_Living, @threadless, @HeartlandTMP, @TheMommyologist, @TheChrisAngel, @WestCoastTacos

Don't forget to start following me--@AmberCharkov!

Happy Following!
--Am

Sunday, July 3, 2011

How To Knock on Wood

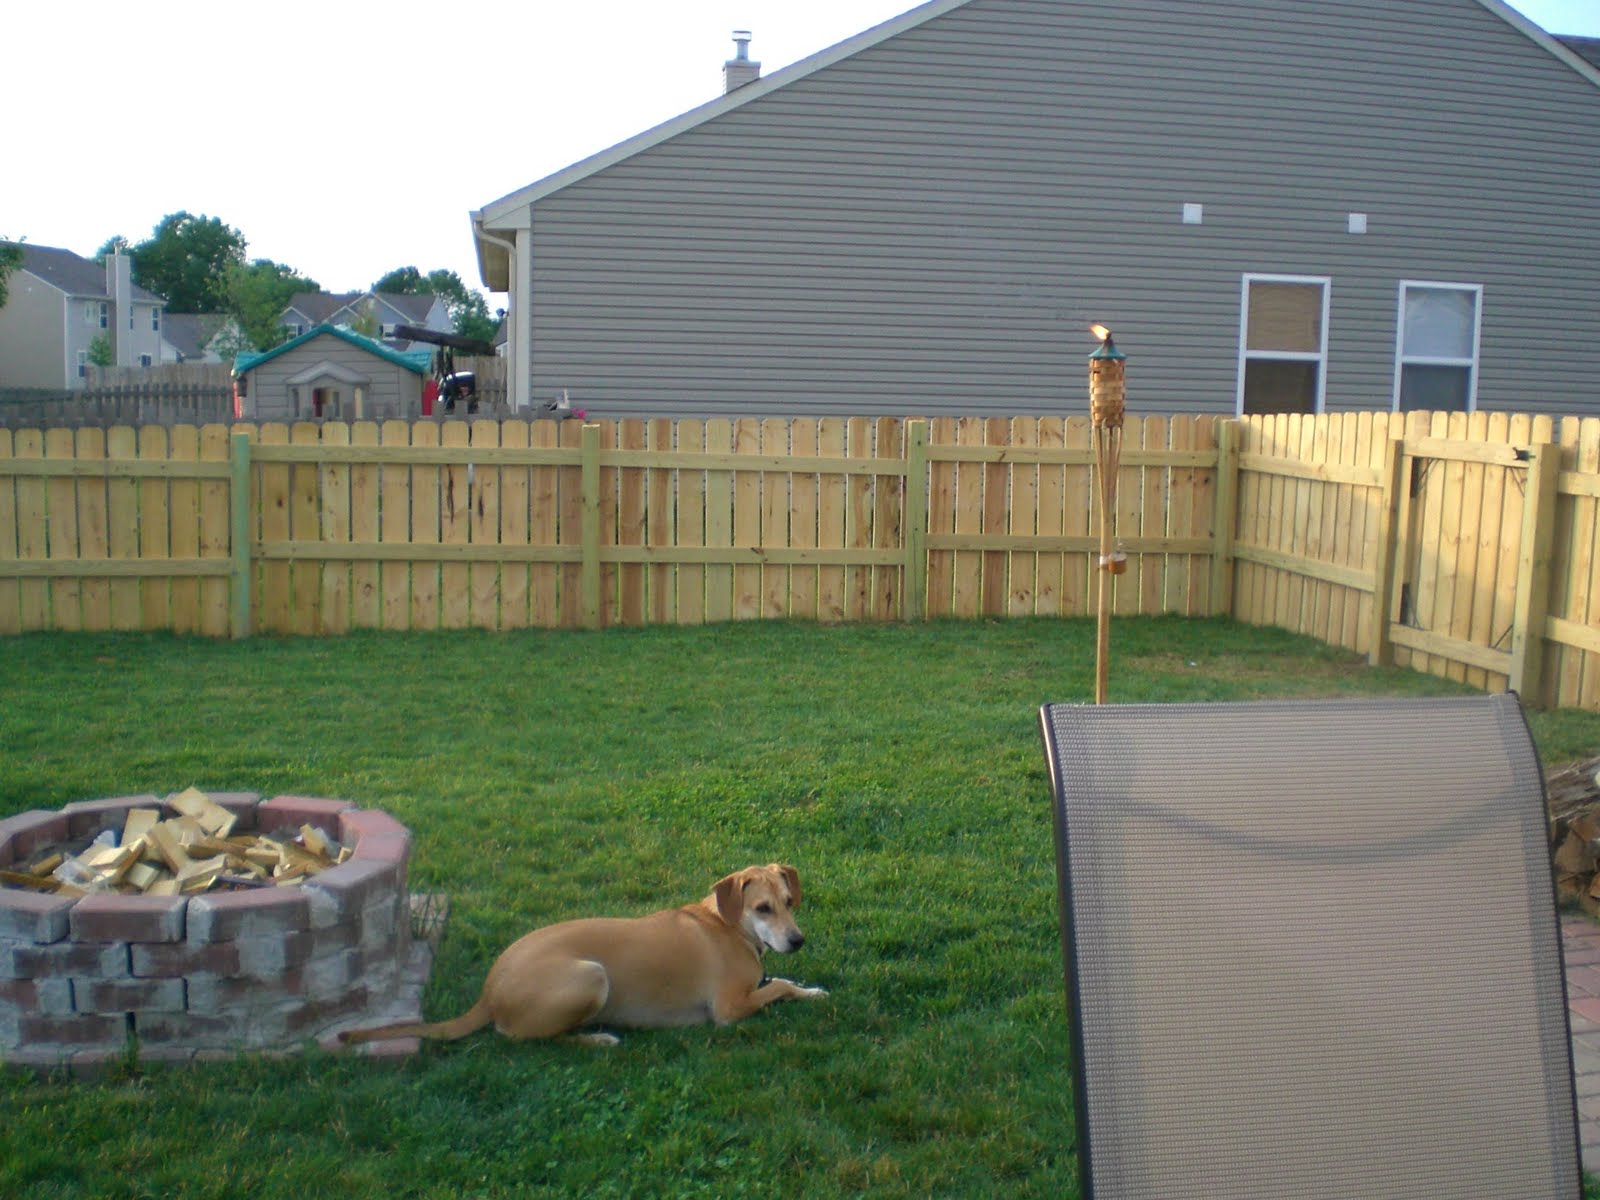
Ever since Al and I got our second dog, Dodger, we decided we needed a fence. We were able to train Daisie from running away, but not Dodger. He loves people and other dogs, so if he sees one, he's a goner. We got him May of 2010 (or was it June?). And then when we got Diego (January 2011), we really decided we needed a fence. We hated tying them up, and it made me quite nervous waiting to see if Dodger was going to bolt. So, we sent in the proposal for a fence to our HOA and got started on the fence. Of course we called 811 (call before you dig) to make sure we wouldn't be hitting anything, and we waited the standard 30 days for the HOA to approve.

Al thought it would take a day to put in the posts and another day to put up the braces and the panels. Boy was he mistaken! The one-man auger rented from Home Depot did not do the trick. He spent forever on one post before he called in some reinforcements (our neighbor, Bruce). With his help, they were able to put up seven posts (of 32) in a span of 4 hours. Our ground is a rocky, clay substance that made it difficult to tap into. Al was beat. You could see the look of frustration on his face. He thought about renting a two-man auger, but found something better. Through the help of my dad, his buddy had someone come to the house with a bobcat and a much needed post-hole-digging attachment. WOOHOO!! The posts were dug and set in concrete in less than a day thanks to Steve and my dad (and of course the HARD work of my wonderful man).

On the weekend following, we ventured the cabin for some fun, but came home to a task that had to start as soon as we go home (which was 9:00 pm). At 10:00 pm on Saturday, Al began assembling the gate. Circular saw a-going and everything. I thought we would have had a violation of noise ordinance filed against us, but nothing yet! On Sunday, we were thankful enough to have friends over to help with the fence (and teach me the inner workings of my sewing machine). With the help of Regan, Al got one side of the fence completed. Not the whole thing like he was hoping, but it was all braced and 1/3 completed. Over the next couple of days, he was able to get the remaining sides up and we've been enjoying it ever since!!  


 dodger enjoying the fence

 al standing against his creation

 view from the outside

 my soon-to-be food producer 

 
tiki torch - first time used in 3 years

 thank you card and gift for Steve

I want to give a BIG shout out to my wonderful husband for all of his work on this. Not only did I get a sturdy fence, but I also got a snazzy garden spot! Thanks babe...you're the best!!

Happy Fencing!
--Am

Sunday, June 26, 2011

How To Rock & Remember

On Memorial Day weekend, I headed up to Michigan City, Indiana for a weekend getaway. Note I said IN because I first thought it was in Michigan. Anyway, I headed up there with one of my good friends, Sarah, to meet our college crew. Back in the day, there were eight of us that bonded our sophomore year at Manchester: Alyssa, Nicole, Mary, Carey, Sarah, Jaymie, Hannah, and me. Mind you, I had met almost everyone freshman year, but didn't really KNOW any of them. Boy, was I in for it! :)

This trip was our first get together in a long, long time. Of course we've seen each other throughout the years at weddings and whatnot, but haven't had a visit like this since we were in school. Unfortunately, Jaymie and Hannah couldn't join, but we did have some husbands there to make up for it.

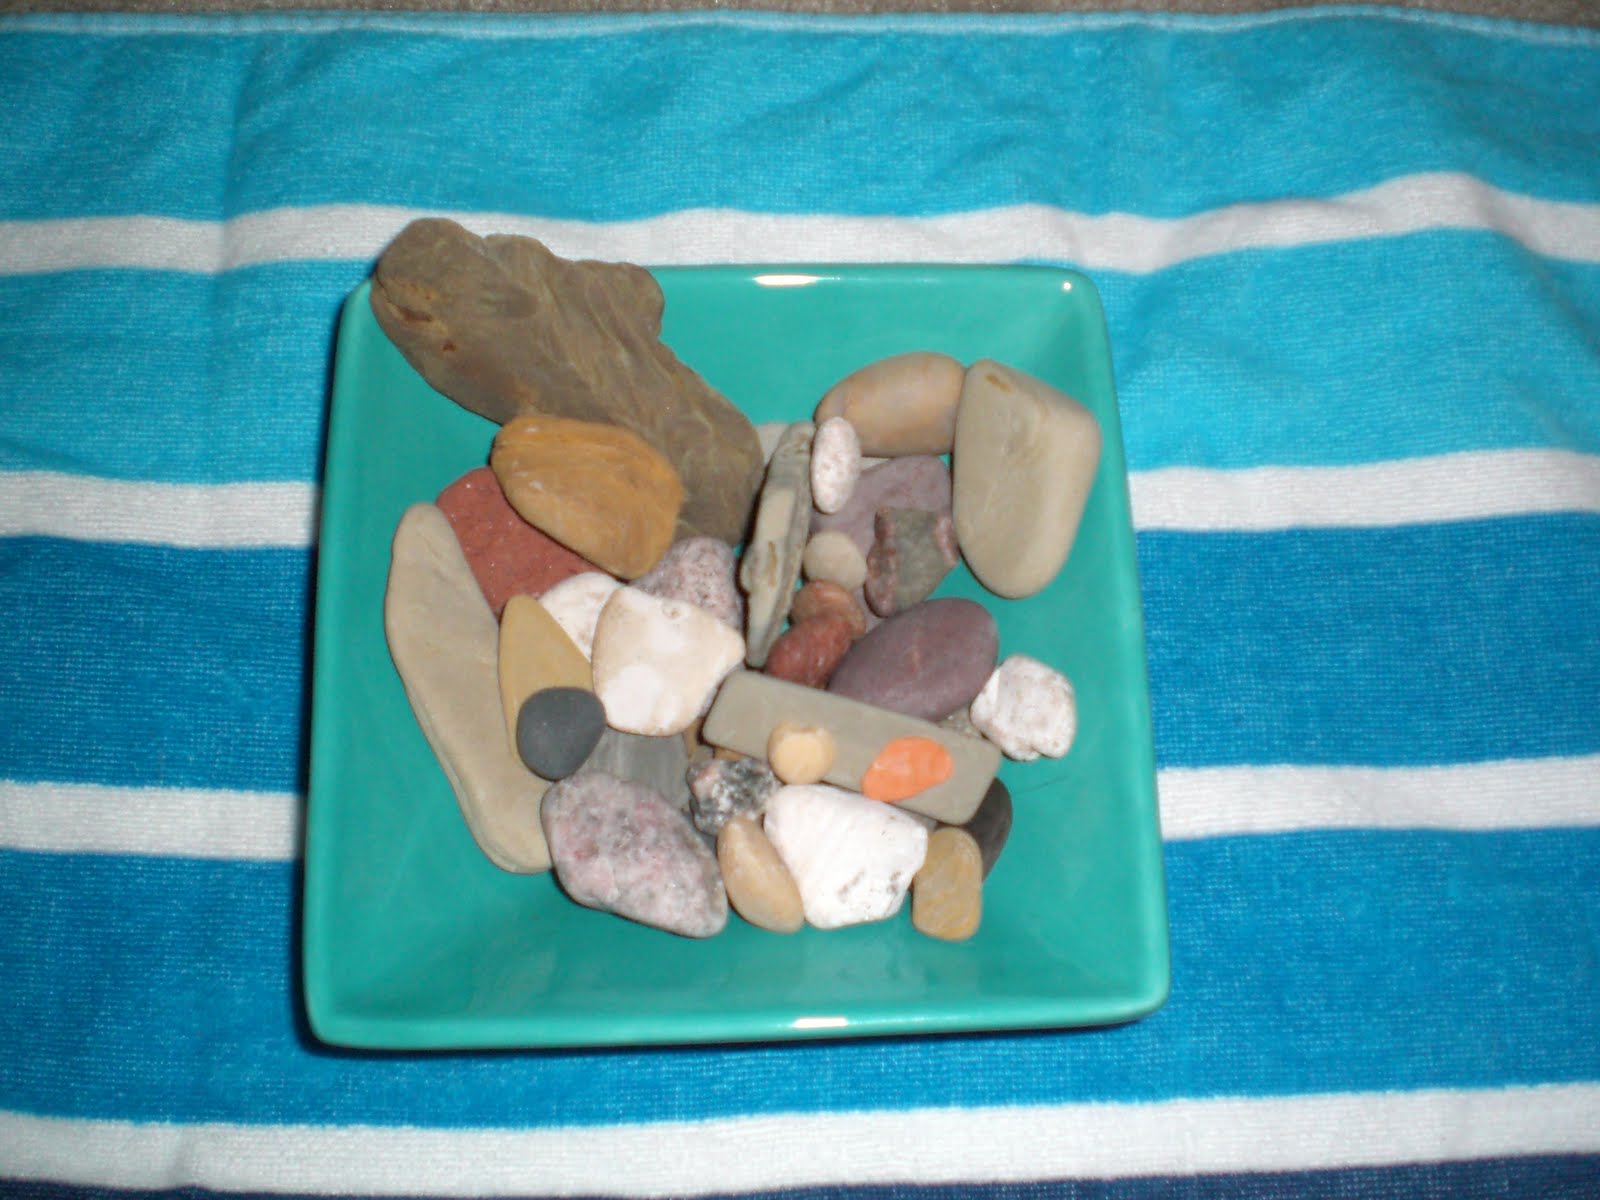
We rented a three story cottage, of which we had access to the two lower levels. We didn't do much over the weekend but reminisce, drink and play games. It was a rainy Saturday so there wasn't much else to do. However, I'm not sure it would have mattered if the weather were better. We're comfortable just chillin' and chattin'. On Monday or Sunday, we went to the packed beach for some sun. On a day that it wasn't so sunny, we strolled the beach and I started collecting rocks that I could use to create something to remember this trip by. I found all sorts of shapes and colors, even one that looked like the Virgin  Mary holding baby Jesus! Here's what I came up with:

sandcastle (not of my own doing, although i kinda wish i would have)

 the various rocks - the long one in the middle left is the virgin mary

more spread out in the oyster dish

 bunched together in the aqua dish

Which one do you like better? I'm thinking I like the more contained one, but can't decide. Either way, I have something to help me remember some of the best times EVER! I love my girls!

Happy remembering!
--Am

Thursday, June 23, 2011

How to Make an Afternoon Snack

Today I had chunky peanut butter and graham crackers for breakfast. Whenever I have peanut butter, I tend to overeat. Something about it is just so tasty that I keep putting it in my mouth well after my stomach has told my brain to cut it out. Due to my 9:30 breakfast and massive consumption of peanut butter, I wasn't hungry again until 2 or so.

I checked the fridge for some leftovers, nothing. Checked the pantry for a quick dinner, nothing. What we did have was cherry tomatoes and two day old french bread that needed eating and an overabundance of basil from our basil plants. (Side note: Al isn't a fan of basil, so I don't cook with it much. I usually shred it and pair it with some parmesan covered popcorn.) Ah-ha! I could make caprese salad on toast. Here's what I did:

  1. Sliced the french bread
  2. Shredded basil leaves (we have green basil and amethyst basil)
  3. Diced the cherry tomatoes
  4. Mixed the basil leaves and tomatoes with some balsamic vinegar, extra virgin olive oil, and garlic salt
  5. Buttered the bread and put it in the oven for a couple minutes at 255 degrees
  6. Removed bread from oven and sprinkled with garlic salt
  7. Added basil/tomato mixture to tops of bread
  8. Baked for two more minutes
  9. Topped with swiss cheese (all out of mozzarella!)
  10. Baked for two more minutes
  11. Remove from oven and eat!


I think I will call these caprese toasts. I was surprised at how fast I could whip up such a tasty treat! If only Al would have helped me eat the eight caprese toasts I made :) Maybe I'll have these as my next appetizer. Would you like that?

Happy Toasting!
--Am

Monday, June 20, 2011

How To Pickle...Anything

My father is very difficult to buy for. Unless he needs a new shirt, I'm out of luck. Whenever he wants something, he buys it, making it difficult to get gifts for him. Somehow, I remembered the Pickle Sisters. They've since gone out of business, but you used to be able to purchase picked everything: asparagus, garlic, carrots, peppers, garlic stuffed olives. I mean everything. Since I've become crafty, I decided that I could make some. I discussed the possibilities with Al, and we settled on dill pickles, dill green beans, hot peppers, carrots, onions, and pickles with celery and onions. I've made pickles before...once. So, I was in for it.

The Saturday before Father's Day was the big day. I spent most of the rainy morning trying to find the recipes for the brine I wanted to use. Here's what I found: refrigerator pickles, carrots, dill green beans, and hot peppers. When the sun came out, Al headed outside to put up fence posts, and I got to pickling. 

I worked with one veggie at a time. It would have been too chaotic for me to do more than that. I started with the recipe for the refrigerator pickles. I followed it to a T, except I subbed celery for the green peppers. My first batch turned out awesome, so I immediately got started on the next batch. Yeah, well, I shouldn't toot my own horn because the next batch turned into a syrup. Suck! I threw it out, washed the pot and started over. The next batch was for dill pickles. I used the same brine for refrigerator pickles, added dill, and left out onions and green peppers. Perfect! I think by then, I was through my first movie.

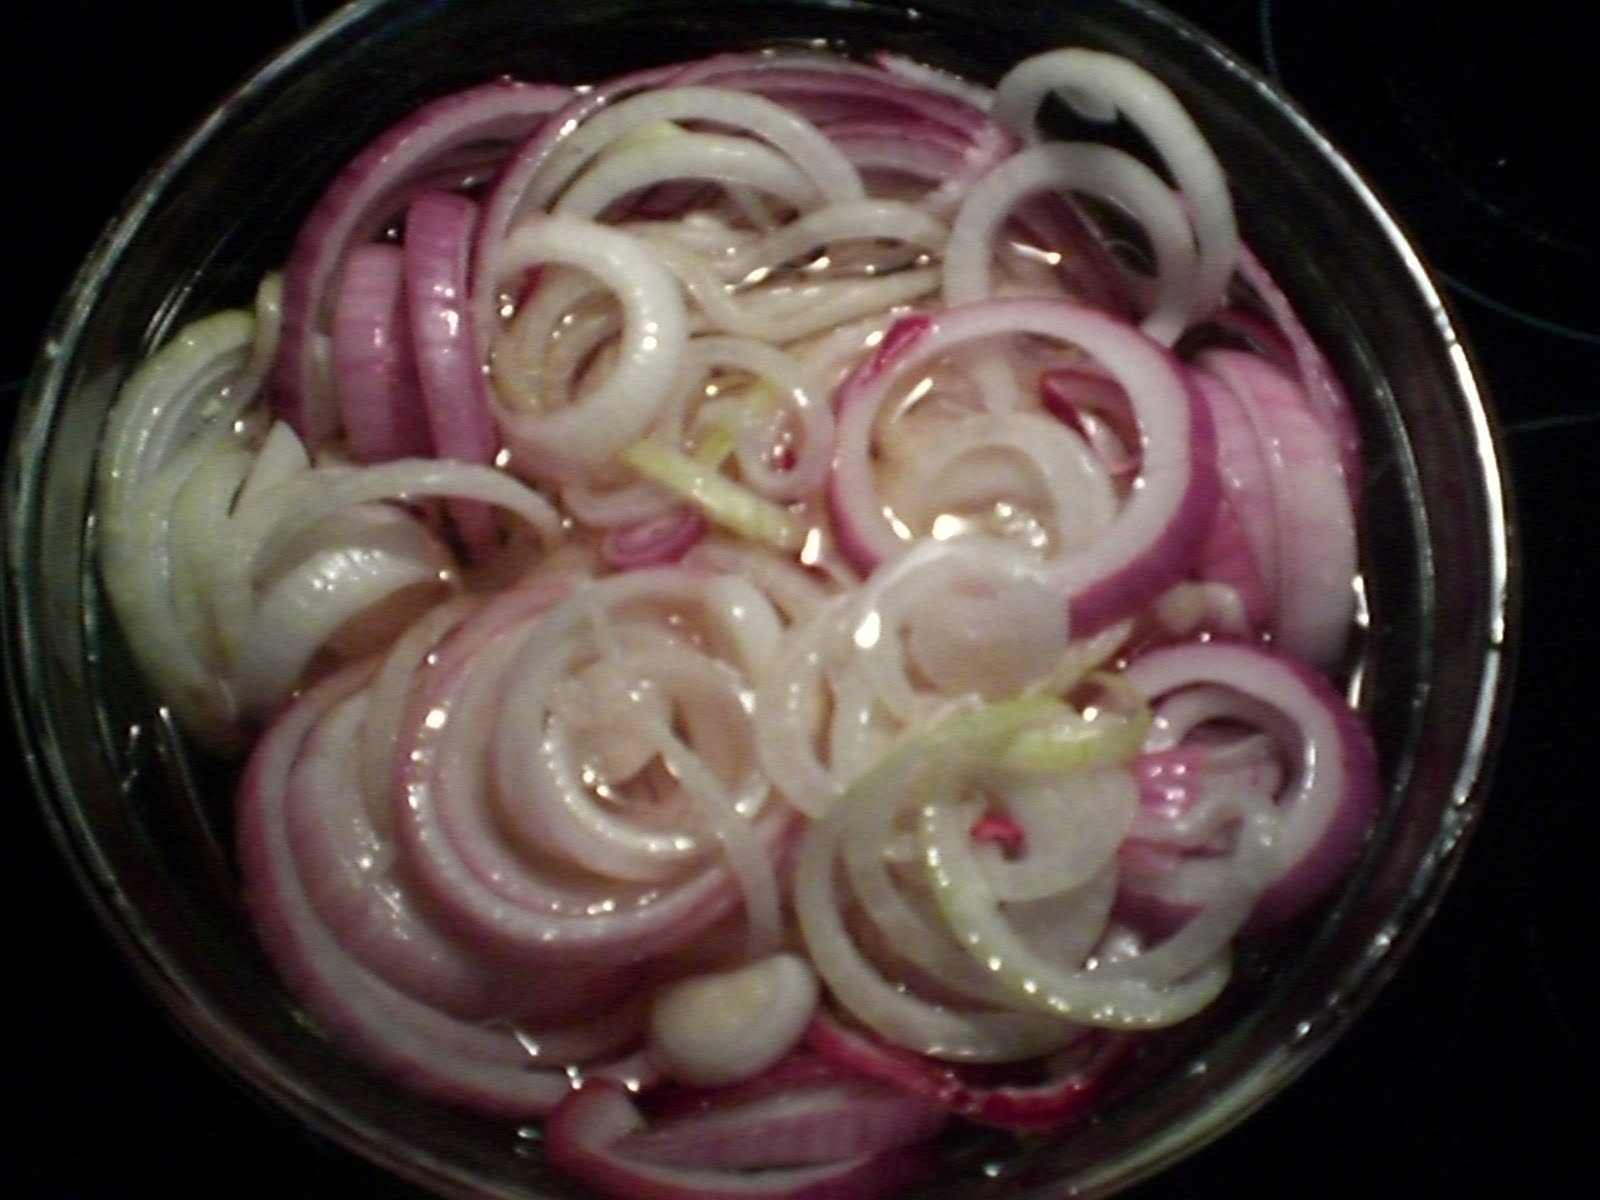
Onto the second movie, I made a jar of carrots and dills green beans using the recipes above. I only adjusted the measurements so I didn't have gallons of brine. On the third movie, I moved onto the hot peppers. The adjustments here are the measurements, not pre-cooking or broiling of the peppers, and the peppers I used: one red pepper, two jalapenos, one anaheim, one hungarian, and one cubano. After those were finished, I ended with the onions. I used the refrigerator pickles recipe and used one red onion and one white onion. Ah! Third movie done and veggies pickled!

 
the refrigerator pickle brine


the pre-pickled green beans


the final products (from left): onions, dill beans, hot peppers,
pickles with onions and celery, carrots, pickles, more onions

Happy Pickling!
--Am

Sunday, June 19, 2011

How To Make A Shirt & Necktie Father's Day Card

Back in May, I made pop-up mother's day cards all thanks to an idea in Martha Stewart Living. So when I got the June edition and saw shirt & necktie father's day cards, I knew I had to figure out how to make them. The directions weren't in the magazine, so I headed online. There I found some rather confusing directions on how to make these. I'm not sure if it was the dark room or late hour, but I just couldn't figure out how to fold the card. I also think I started with a sheet of paper that was square instead of rectangle, which makes for a very awkward looking shirt. So, I looked a little deeper and found this on youtube. The directions are super-easy to follow and helped produce a great looking shirt. I used this video (also on youtube) to create the necktie. The hardest part was picking out colors and creating tie patterns. I used 8 1/2 x 11 sheets of paper for the shirt and 4 inch squares for the ties. Here's some progress pictures and the final product.

 the start of the sleeves

 the collar

 the completed shirt

 the beginning of the necktie

 the complete necktie

  the end results! which is your favorite?
i like the polka dots and flowers

Happy Card Crafting!
--Am

Saturday, June 11, 2011

How To Etch Glass

A little over two months ago, I bought everything you would need to etch glass. It's not much really, just glass, contact paper, stencils, exact-o-knife, and Armor etching cream. All these materials sat upstairs until I finally decided what I could do with them. I originally got the idea from one of my sister's coworkers, Megan. She etched a beautiful name plate for my nephew and sent me the skinny on glass etching. Like most everything in my life, I got real excited and decided to hurry up and wait. So, here we are, two months later, and I found a reason to etch.

My fabulous friend and coworker (yes, I have friends at work!), Claire, is turning 30. To celebrate her birth, she's throwing a little shindig. I didn't want to show up empty handed and bringing only a bottle of wine felt like the easy way out. Good thing my bag of glass etching goodies contained two circle pieces of glass that would make perfect coasters!The stencils I had picked out would also fit her personality. Since she's very organic and earthy, I went with fern-like shapes. Now, it's time to get started. Here's what to do: 


  1. Clean the glass with soap and water. Dry it with a clean cloth.
  2. Apply contact paper on the glass. Make sure there are no bubbles.
  3. Using your stencil, trace the design onto the covered glass. 
  4. Take the exact-o-knife and cut around the tracing.
  5. Peel off the contact paper that was cut-out. 
  6. Thickly apply Armor etching cream with a paint brush and wait five minutes. 
  7. Wash off cream with water and peel off contact paper.
  8. Spray glass with glass cleaner and wipe clean. And there you go! 
 stenciled on

 stencils

 etching cream applied

 the finished product

It's not the most fancy gift, but it was fun to make and very easy to do. I'm sure Claire will appreciate it! 

Happy Etching!
--Am